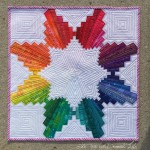
Today I am thrilled to share with you my creation for the Paintbrush Studio New Block Blog Hop. The Ocean Sunrise palette of fabric inspired me to create a block loosely based on the five pointed design found on sand dollars along the shoreline.
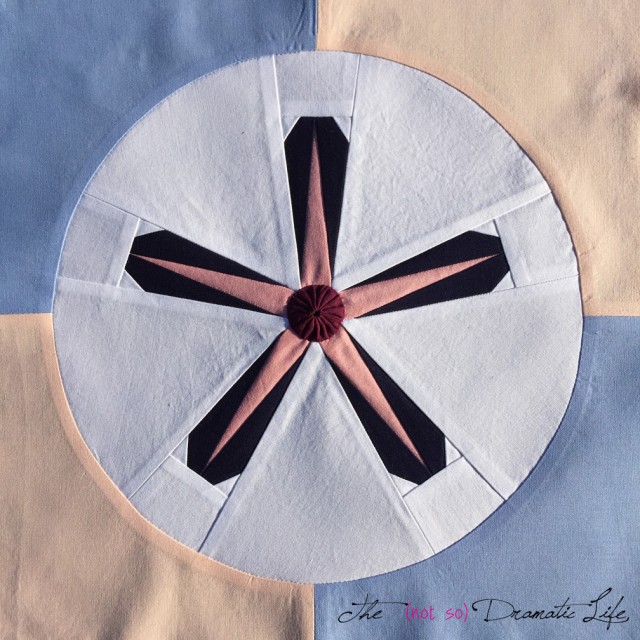
Sand Dollar Star
There are more than 35 new, free block patterns being shared during this three day blog hop, so I hope you take some time to visit all of the blog owners who have dedicated so much time and skill to create blocks for you to enjoy. Todays bloggers are:
Host: Cheryl @Meadow Mist Designs
Kim @Leland Ave Studios
Andrea @The Sewing Fools
Cassandra @The (not so) Dramatic Life
Stephanie @Quilt’n Party
Irene @Patchwork and Pastry
Tish @Tish’s Adventures in Wonderland
Abby @Hashtag Quilt
Sarah @Smiles Too Loudly
Carrie @The Zen Quilter
Wanda @Wanda’s Life Sampler
Jayne @Twiggy and Opal

The Sand Dollar Star Quilt Block is an excellent skill builder block that is created using foundation paper piecing (FPP), curved piecing, and is finished with a fabric yo-yo. Foundation paper piecing gives you lovely, precise points, resulting in a block with a clean, professional appearance. Once this step is completed, you will set the inner circle you created into the outer section of the block using a traditional curved piecing process. To complete the block, you will create a fabric yo-yo that is hand appliquéd onto the center of the block.
The complete directions and full scale templates for Sand Dollar Star are available for download at Craftsy. This post focuses on a photographic tutorial of constructing the block, while the PDF directions contain more than 20 diagrams and thorough instructions explaining the construction of the block.
This Block is constructed in three sections:
- The outer surround
- The foundation paper pieced circular star center
- The yo-yo that finishes the center of the block
The Surround
I like to start with the outer surround that is constructed from four pieces cut from the provided template.

Stitching the short seams to create the surround using a 1/4″ seam allowance
Four short seams create an open circle that you will set the center star into. I like to press the seam allowances open to reduce bulk for this part of the block.

The back of the surround with the seam allowances pressed open
The Inner Star
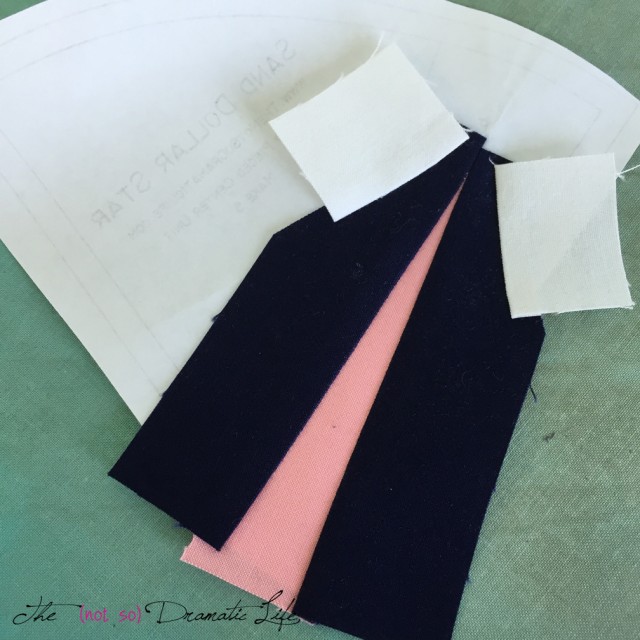
There are five foundation paper piecing (FPP) segments which come together to create the circular inner star. Each segment starts with placing pink fabric, right side up, over area 1 on the unprinted side of the FPP template. I like to hold my template and fabric up to a light source to check my fabric placement. Place the dark blue fabric for area two over the pink fabric with the main body of the fabric over area one and the “seam allowance” over area two. Flip the entire unit over and use a small machine stitch to sew along the line between areas one and two.
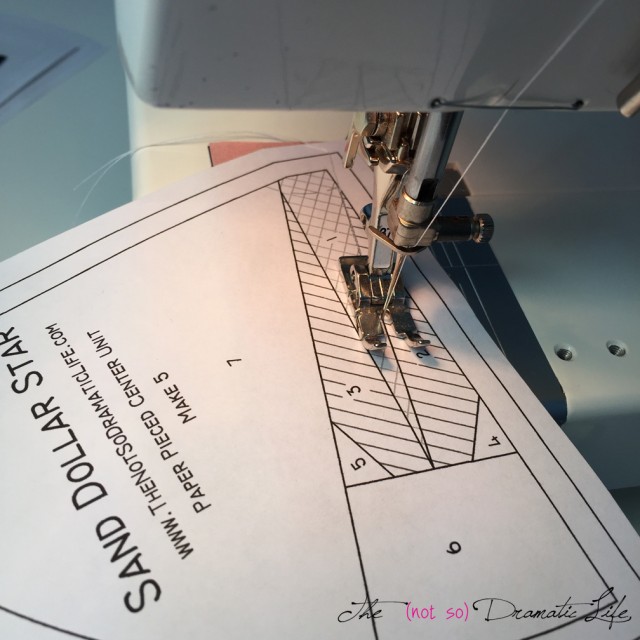
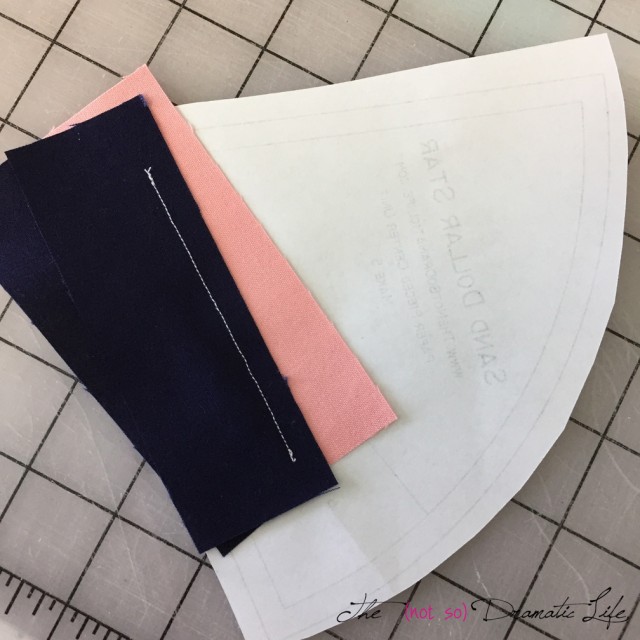
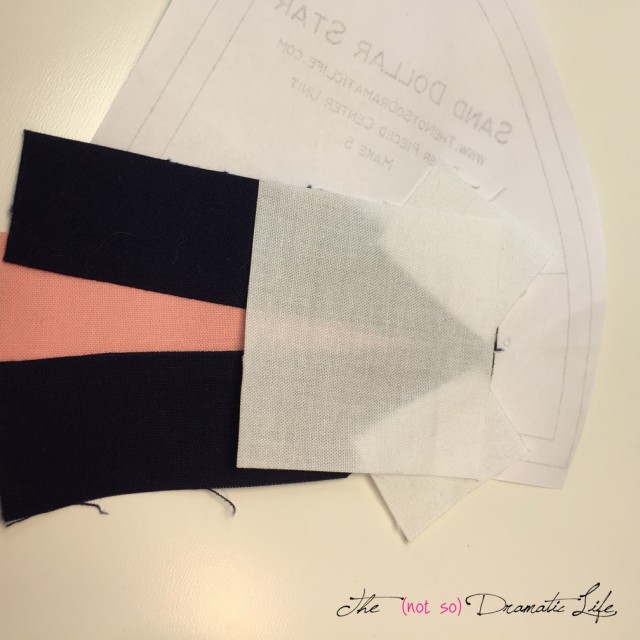
Stitching along the line on the paper piecing template
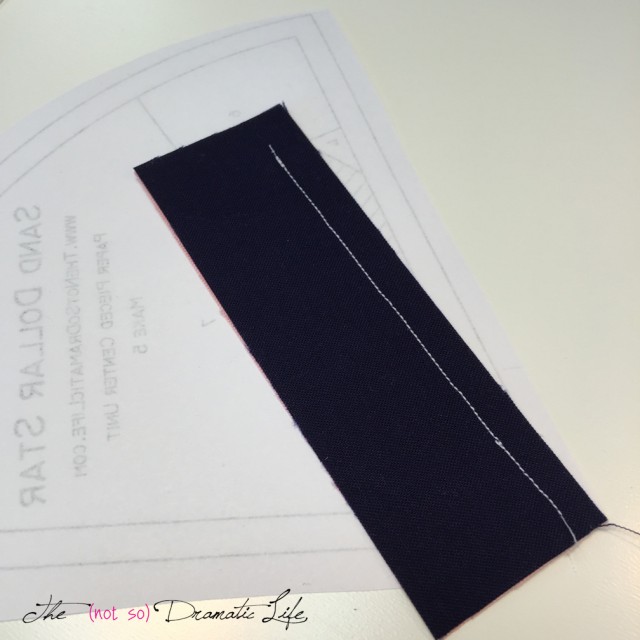
View of the back of the FPP template after the first seam has been stitched
Fold the paper back to use a rotary cutter to trim away the excess fabric, leaving approximately 1/4″ seam allowance.
Fold back the FPP template to access the area of fabric that needs to be trimmed
Trimming the seam allowance
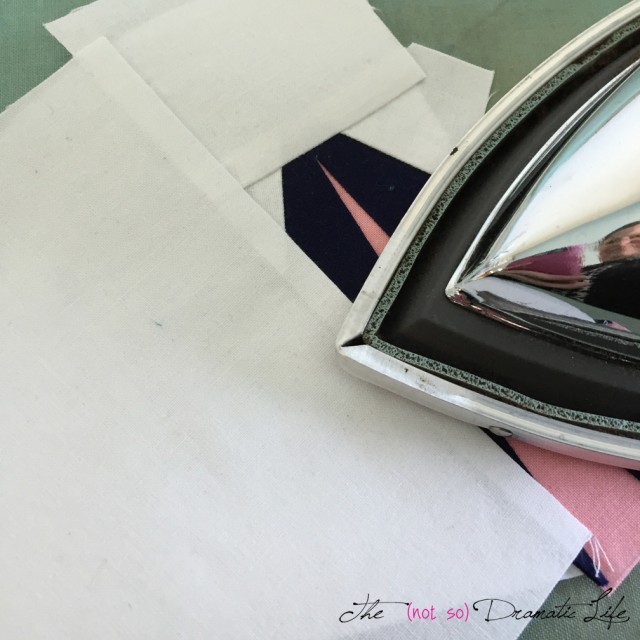
Press the fabric into place before moving on.
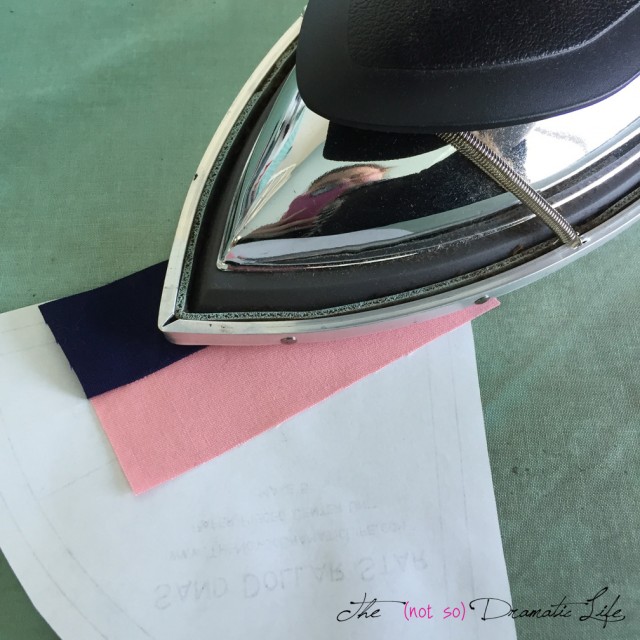
Pressing the seam
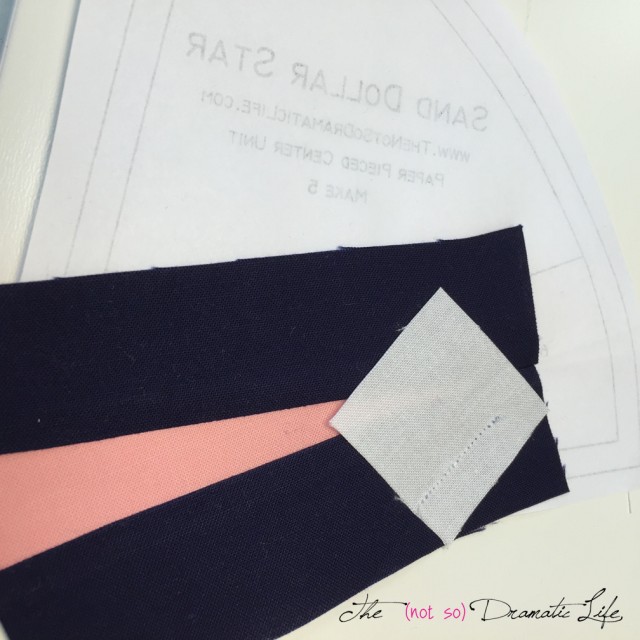
Repeat the FPP process for areas 3 through 7.
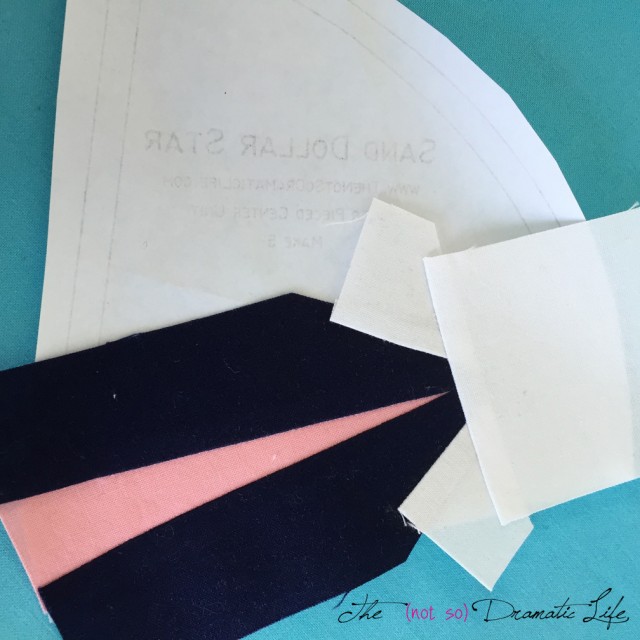
Placement of the fabric for section three

Pressing Section 3 into place
Since sections four and five do not overlap, I like to sew them at one time, then trim and press them. This saves a little travel time 
Placement of fabric for section 4

Placement of fabric for section 5
Pressing sections four and five
Placement of fabric for section six
Fabric six pressed into place
Section 7 pressed into place
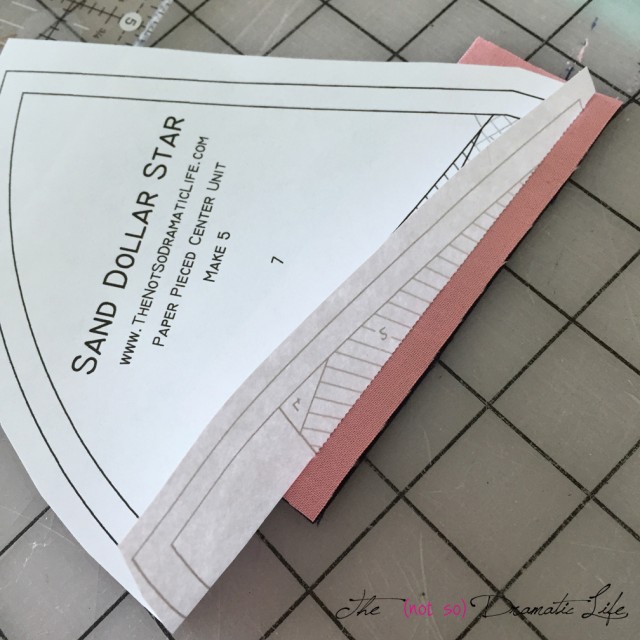
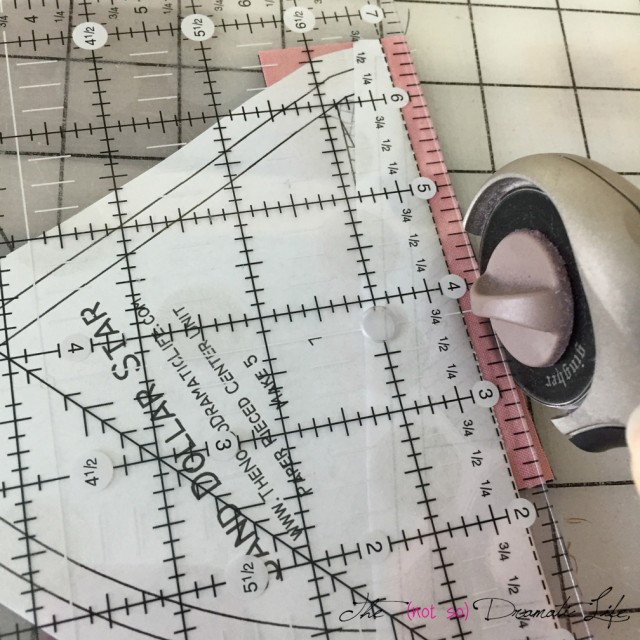
Once the entire segment is stitched into place, make sure it is well pressed before trimming the straight edges with a rotary cutter and ruler. For this small amount of cutting I don’t worry about using my good cutter on paper- what can I say- I like to live dangerously!
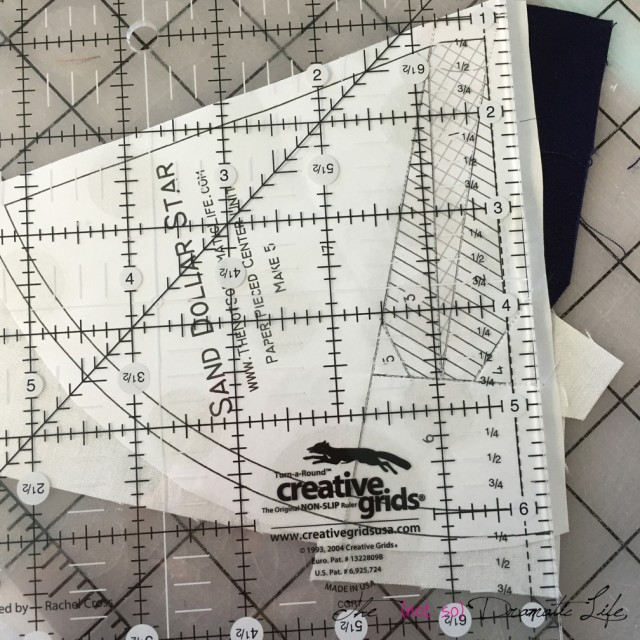
Final trimming of the straight edges of the FPP segment
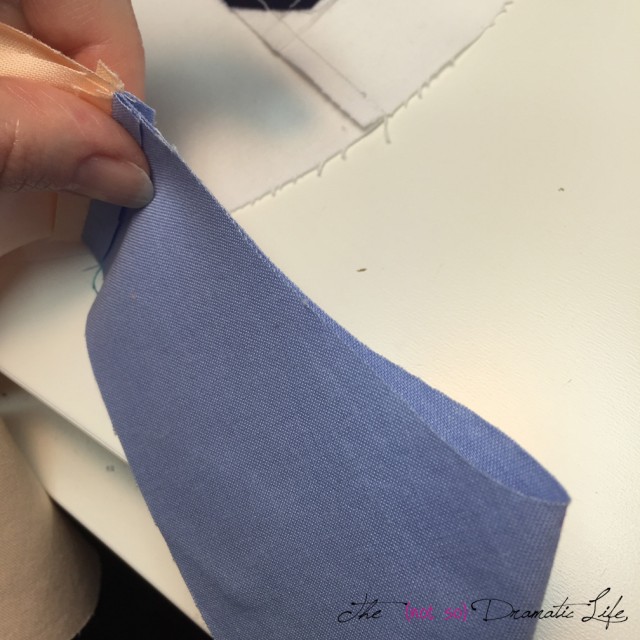
I prefer to cut the curved edges using good quality shears. The fabric for section 7 is large and a bit floppy, so I think it is helpful to pin slightly in from the cut line, so things don’t shift in an unpleasant manner.
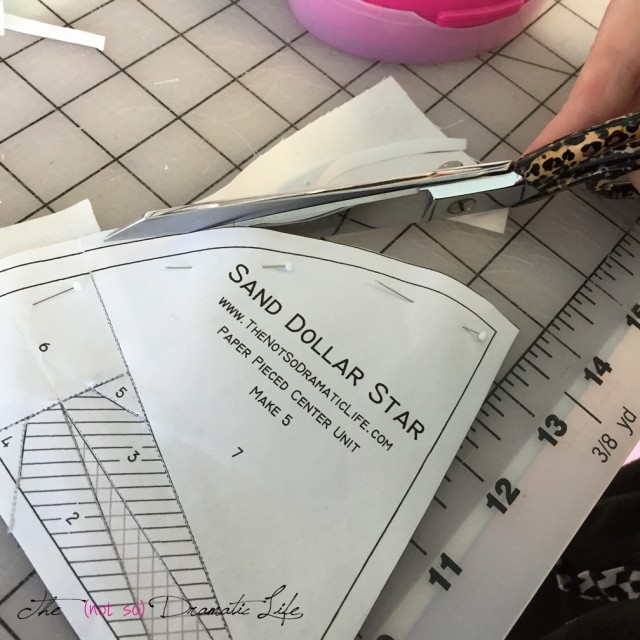
Trimming the curved edge
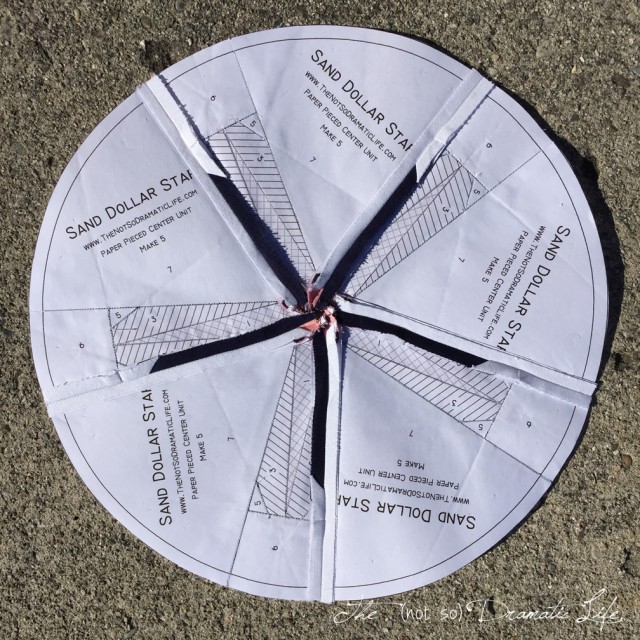
Repeat this process four more times to construct all of the pieces for the center of the block.
The five segments that make up the center of the sand dollar block
Stitch the segments together. I like to stick pins straight through at the points that I want to be sure will match up. Then I use Wonder Clips to hold the rest of the seam in place.
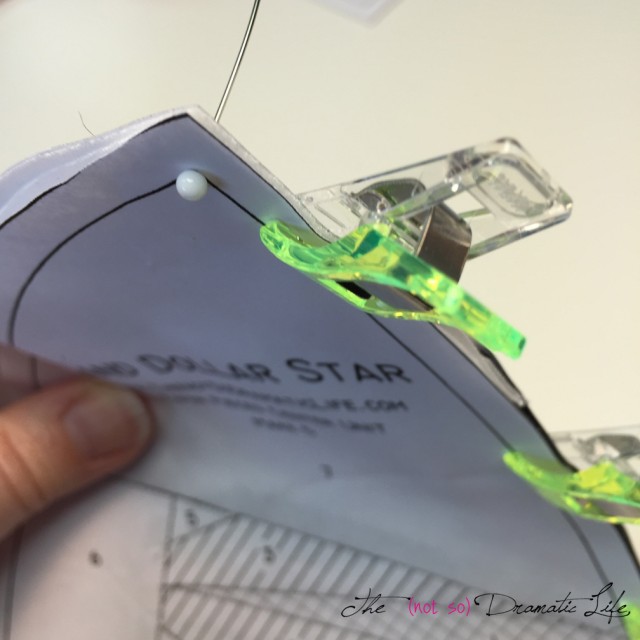
Pins pushed straight through mark specific corners and Wonder Clips hold the rest in place
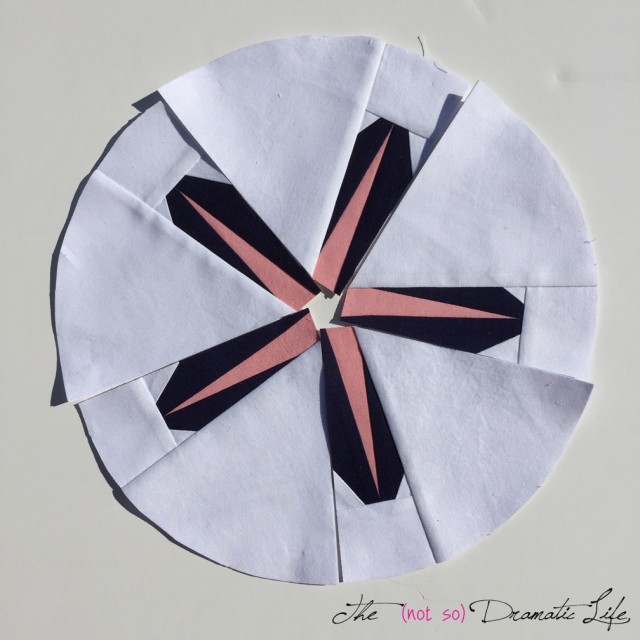
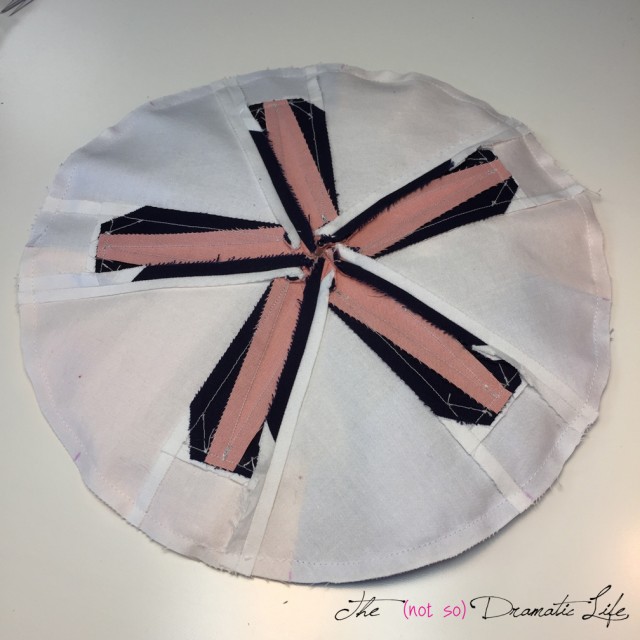
Sew all five sections together. One of the awesome things about this block is that there is an opening left in the center of the block (don’t worry, we’ll cover it later) which means there are no precise points to match! Press the seam allowances open and press the entire unit thoroughly.
The back view of the assembled circular star
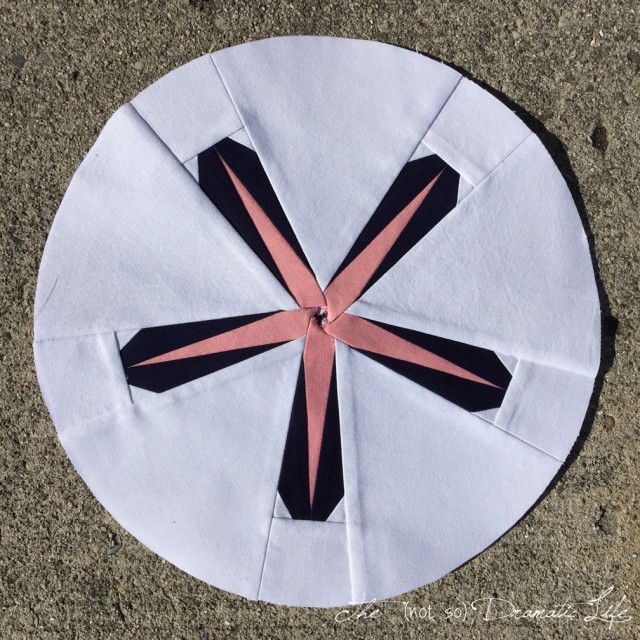
Front view of the assembled circular star unit
Now you need to remove the paper. If you haven’t done a lot of curves or you are afraid the edge of the circle may stretch, do a machine straight stitch in the seam allowance (about 1/8″ from the edge) along the outer edge of the circle before removing the paper. This stay stitch will help keep things from stretching and distorting before you have a chance to sew the center into the outer surround.
Its time to create some registration marks to help in sewing this circle. Fold the inner circle in half, making sure that one of the pink star points falls on the fold line. Use a disappearing marker to make a small tick mark in the seam allowance on either end of the fold. Only one tick mark will line up with a point on the star. I use this for the top of the block.
Folding the circle in half with a pink point on the fold line
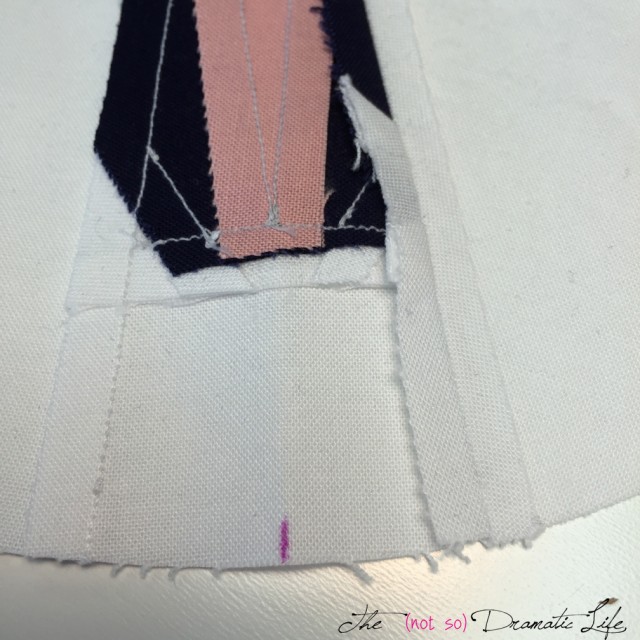
The tick mark lined up with one of the pink points
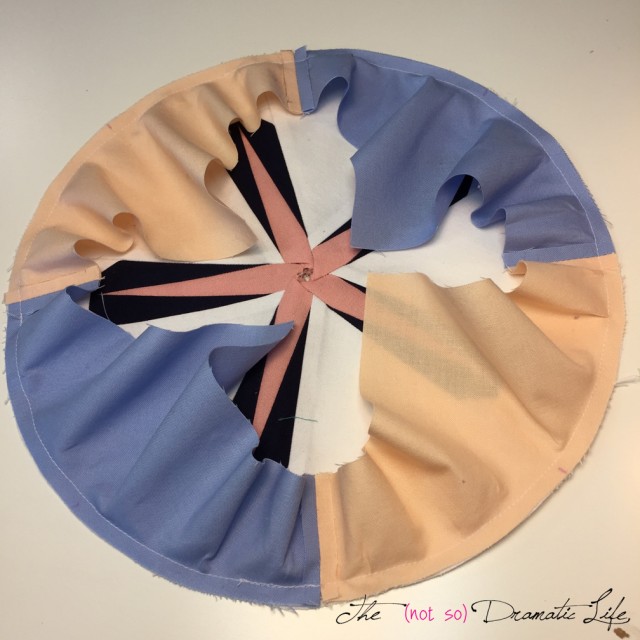
Fold the block in half again, this time matching the first tick marks to each other. Fold to find the halfway points between all of the tick marks on the circle. You should have a total of eight marks. On the outer surround the seams act as the first four registration marks. Fold each segment in half to locate the halfway points.
Folding the outer surround to locate registration marks
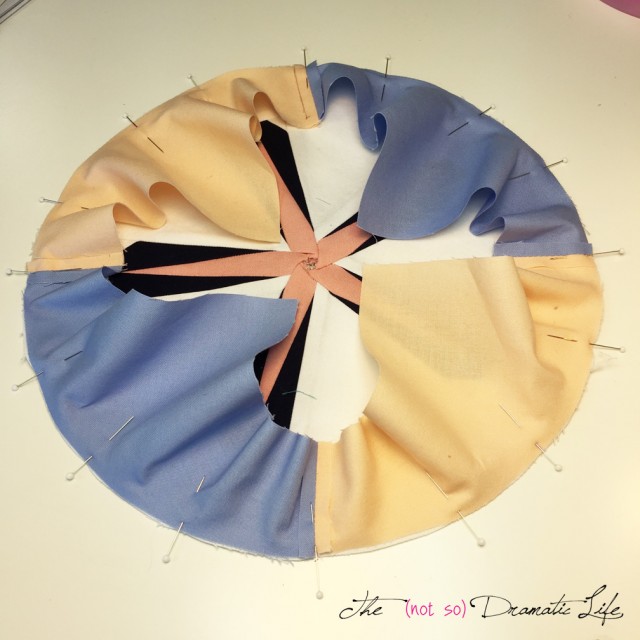
Match the registration marks around the circle and pin in place.
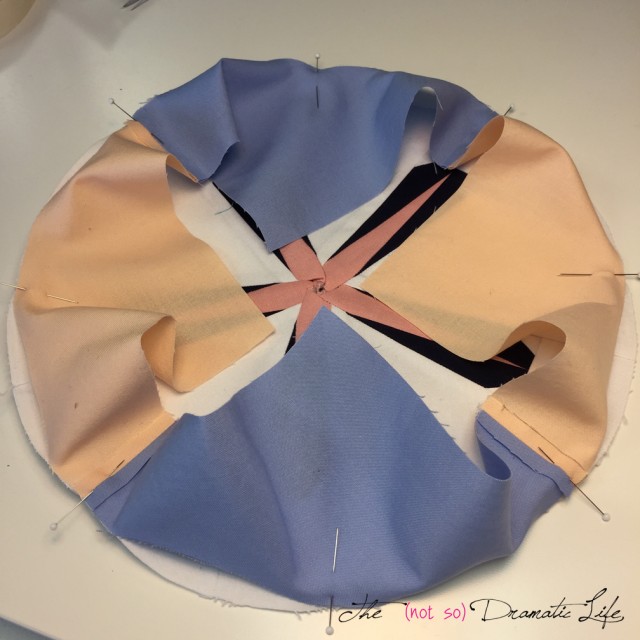
Pinned registration points
Add extra pins to hold everything in place while you sew. Use as many as you need to make the edges line up as you sew. I like to stitch with the surround on top and the circular star on the bottom.
Additional pins
Check both the front and back of the unit to make sure there aren’t any tucks or puckers in the seam.
Top of the stitched unit
Back of the stitched unit
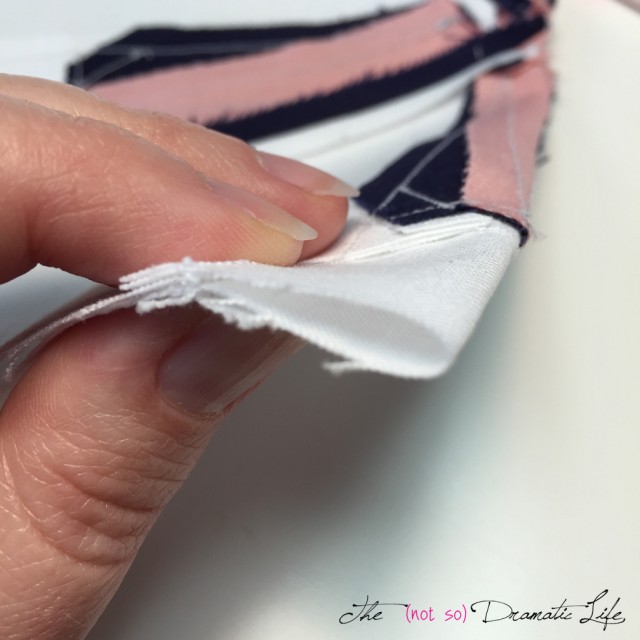
It may look a bit rumpled when you first flip out the surround . . .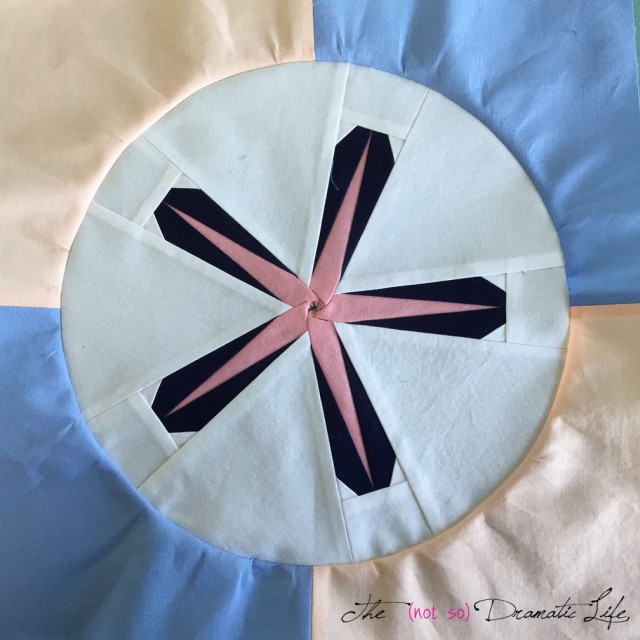
but as long as there are no tucks in the seam, it will press out nice and flat. I generally press my seam allowance toward the outer surround.
The Central Yo-Yo
The only left to do in making this block is to close up the center of the circle. A fabric yo-yo does this while adding a bit of texture and dimension.
You will use the provided template to cut the circle and a doubled thread to do the stitching. Make sure the knot falls on the wrong side of the fabric. Do a hand running stitch around the edge of the circle turning the raw edge of the fabric back about 1/8″ as you sew.

Turning back the raw edge as you stitch
For best results, your stitches should each be about 1/8″ long.
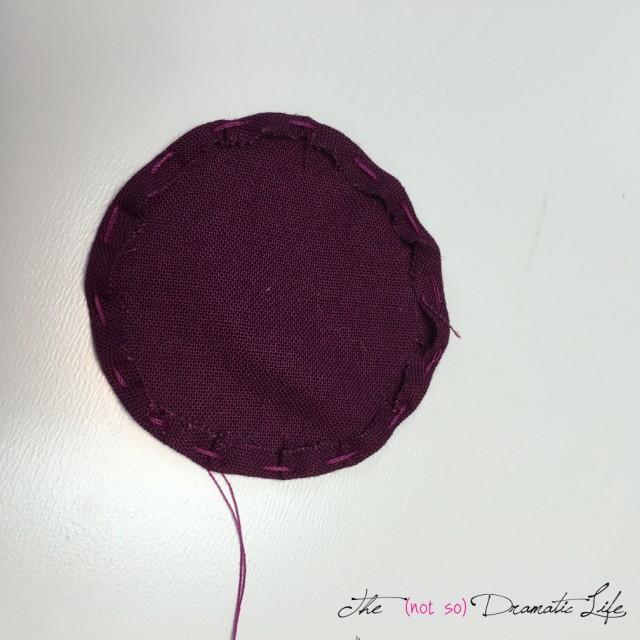
Stitching around the edge of the yo-yo circle
When you have gone all the way around the circle, draw the thread to gather the edges of the circle into the center point.
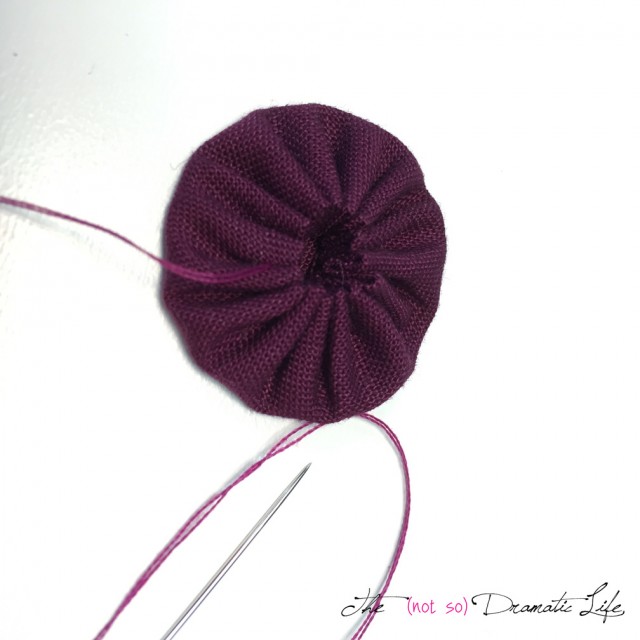
Gathering the yo-yo
To further secure the yo-yo and help control any unwieldy gathers, I like to stitch through the pleats two or three at a time.
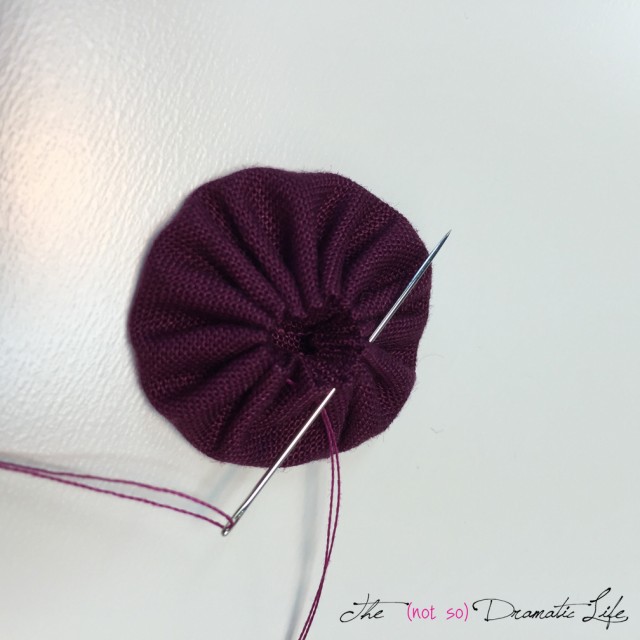
Stitching back through the gathers
Knot off and bury the thread before clipping.
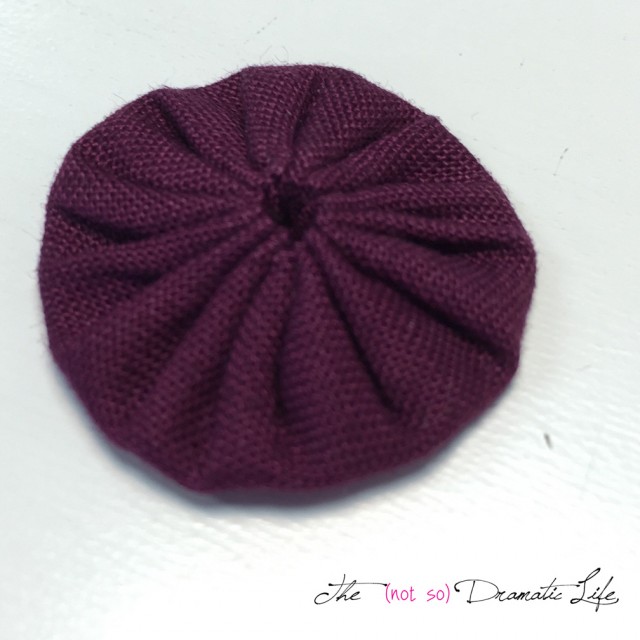
Finished yo-yo
Position the finished yo-yo in the center of the block.
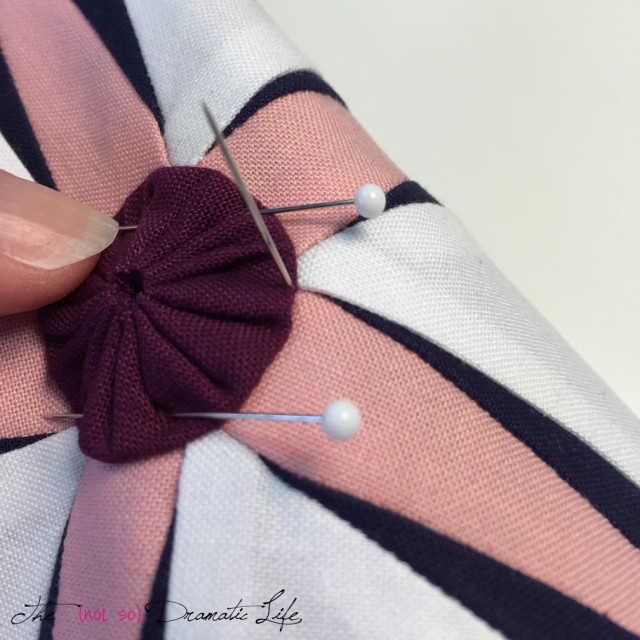
Positioning the yo-yo and bringing the needle up through the back of the block
Take small appliqué stitches around the edge of the yo-yo to secure. Many small stitches are preferable to fewer large stitches.
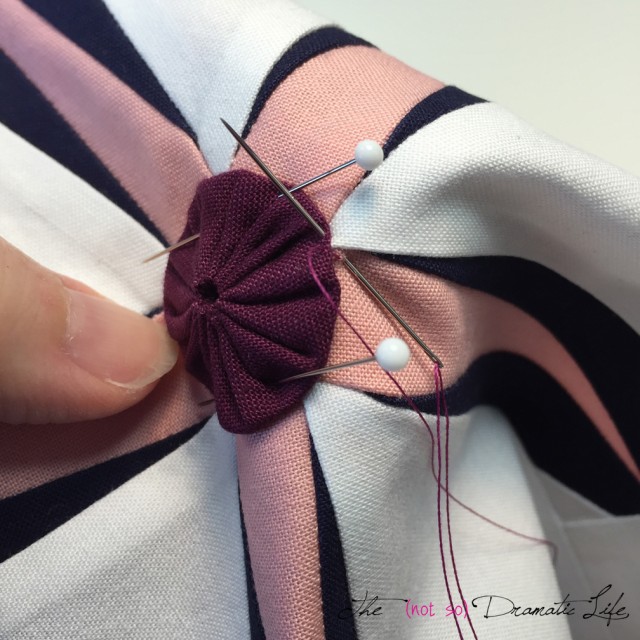
Stitching the yo-yo
As you stitch, try to have as little thread show as possible. Visible thread tends to be the weakest part of hand sewing, so keep as much of it as possible behind the fabric of the main block or the yo-yo.
Sand Dollar Star
Use this block as a primary block design for a quilt, combine with other blocks for a seaside sampler quilt or table runner, or add borders to a single block to create a mini quilt or pillow.
When you head over to Craftsy to download the pattern for this block, I hope you will take a look at my other patterns as well!
Rainbow Rotary in Three Sizes
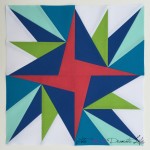
Summer Starburst Block
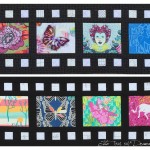
Filmstrip Bee Block